
AI Images for Print: Bleed, Trim, and Safe Margins
Plan a postcard with separate trim, bleed, and safe areas. Work through dimensions and inspect what happens when a cut shifts beyond the artwork.
On this page
For an image that must print to the edge, plan three boundaries: the finished cut size, extra artwork outside that cut, and an inner margin for essential content. Start with the printer's template before choosing your generation canvas.
A postcard can look finished on screen and still acquire a white strip after trimming. Moving its title inward solves a different problem from extending its background outward. Both decisions belong in the layout before export.
This guide uses a fictional botanical postcard and a hypothetical print brief. All illustrations are constructed from original vector artwork. They are not photographs of printed samples, AI generation tests, or promises about a printer's cutting accuracy.
Trim, bleed, and safety do different jobs
Trim is the intended edge of the finished piece. Bleed is extra artwork beyond that edge. It provides material to cut through when a full-bleed design reaches the edge, helping prevent an unprinted strip if the cut is slightly misaligned. Adobe describes this purpose in its print bleed documentation.
An inner safe margin is a layout allowance for text, logos, and other details that must remain comfortably inside the cut. It is not another name for bleed: safety moves essential content inward; bleed extends edge-reaching artwork outward.
The actual amounts come from the printer and product specification. A postcard, folded piece, and bound booklet need not share one rule. Do not treat the example numbers below as a universal production standard.
Work through one complete brief
Assume the recipient asks for a rectangular postcard with these requirements:
| Region | Example requirement |
|---|---|
| Finished trim | 100 × 150 mm |
| Bleed | 3 mm on each side |
| Inner safety margin | 5 mm inside each trim edge |
| Raster image target | Approximately 300 pixels per inch at placement size |
The image area including bleed is 106 × 156 mm: add 3 mm on both sides of each dimension. The inner safe region is 90 × 140 mm: subtract 5 mm from both sides of the finished dimensions.
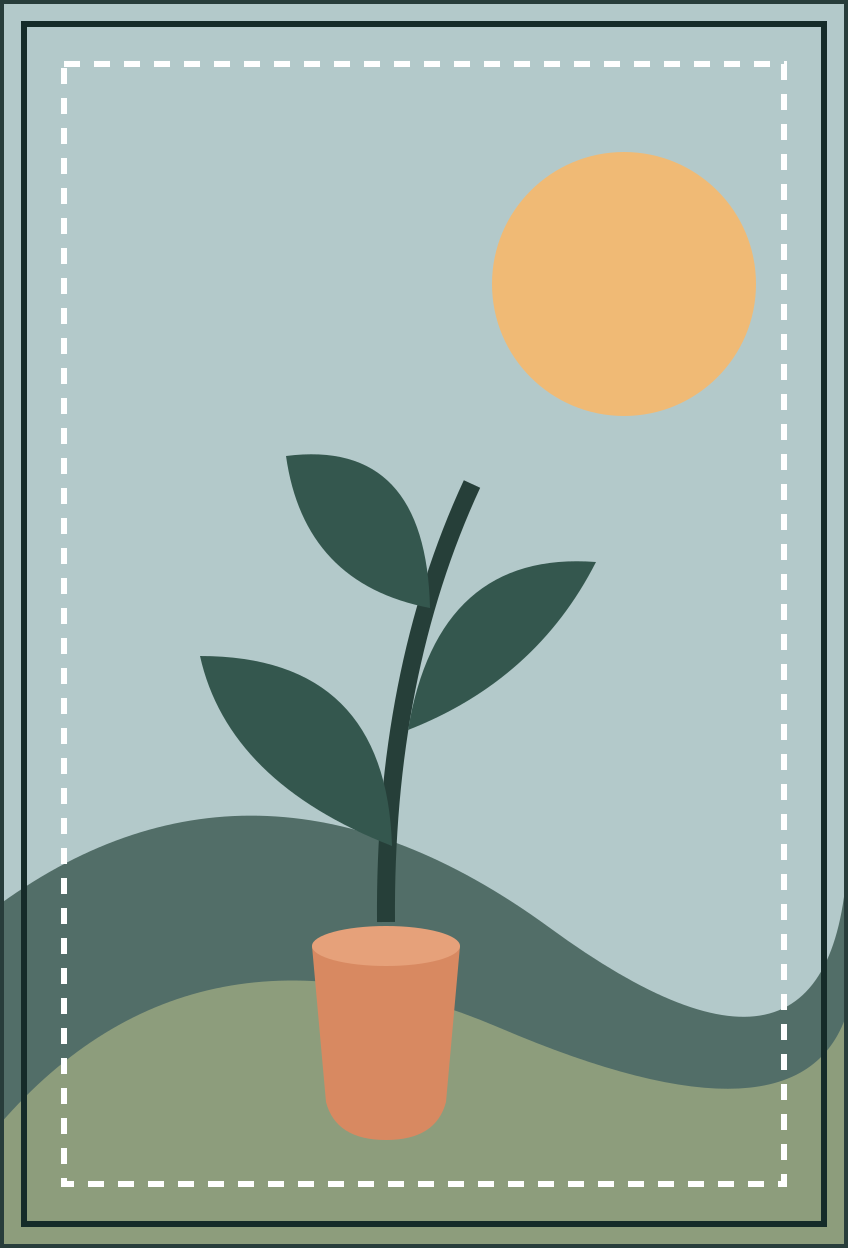
The vase can sit within the composition while hills and background color continue through the bleed. If you add a title or a date, place it inside the dashed region. That region is a design allowance from this example brief, not a measured guarantee against all trimming or binding errors.
For a raster image, convert the full image area—not just the trim—to pixels:
pixel width  = 106 / 25.4 × 300 ≈ 1252
pixel height = 156 / 25.4 × 300 ≈ 1843
Those are rounded pixel counts for this scenario. The example guide-free PNG is 1252 × 1843 pixels. Its editable SVG source has the same intended composition and full-area proportions. Neither is a printer-approved PDF or a finished postcard layout with required copy.
Changing a file's PPI tag without adding pixels does not supply missing detail. Place the image at its intended physical size and inspect its effective resolution. For that distinction, see the image resolution guide.
A border and a bigger canvas are not enough
Adding empty canvas around the image supplies space, but it does not supply edge-reaching artwork. For full bleed, background color, a photograph, or another intended edge element must continue into that area. Adobe's bleed setup example shows extending the artwork to the bleed guides.
Below, both versions use the same illustration and the same constructed cut, shifted 1 mm to the right of the intended position. In the first version, the artwork stops at trim and the surrounding area is white. In the second, it continues into the bleed.


A border printed close to the edge presents another challenge: even a small shift can make one side look thicker than the other. Extending the background does not make that border visually centered. Review the border's placement with the printer rather than assuming bleed will protect every design choice.
Leave room before generating or extending the image
Our trim is 2:3, but the full area is 106:156. The two shapes are slightly different. Generating exactly at the trim ratio and then stretching to the bleed ratio changes the artwork's proportions.
You have several possible routes: compose for the full area from the start; use a larger image and choose a crop that includes the required bleed; or extend the background while retaining the important interior. If you extend with AI, inspect new branches, repeated objects, lighting, and edges. Added area is new image content, not automatically a faithful continuation.
Keep critical copy on editable layers where practical, and place it using the safe guides. A request to “leave room for a title” is useful creative direction, but it does not establish exact millimeter margins. Use the layout to enforce those measurements. The composition guide explains planning subject and text positions separately.
Reopen the export against the actual specification
Before sending the file, confirm the finished size, bleed amount, inner margins, image resolution at placement size, and the recipient's requested format and color settings. Printer marks are separate from artwork: include them only as requested, not as lines painted into the picture.
Then reopen the export. Check that the background reaches the required outer edge, essential content stays inside its safe region, and explanatory guides have not become part of the image. If the recipient requests PDF, verify its page and trim/bleed setup in that workflow; a correctly sized PNG alone does not establish those PDF settings.
The useful handoff is the artwork plus a layout that matches the actual brief. More pixels, a “print-ready” prompt, or a tidy on-screen preview cannot replace that agreement.